
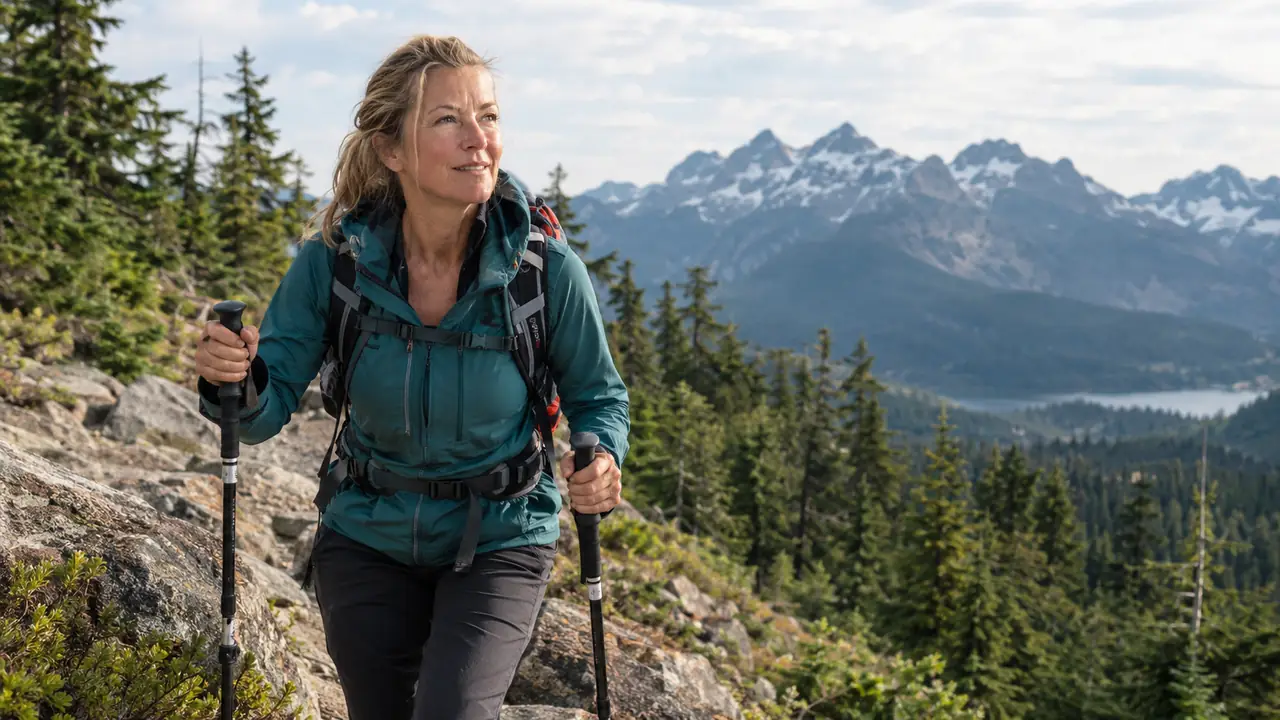
Hiking in the North Cascades teaches you things slowly, and the first thing it taught me was respect for downhills. The day I came down the steep stretch near Chuckanut with my left knee complaining, the knee I landed on wrong in a college volleyball game, I was fifty-one and stubborn. I finished the hike, limped for two days, and ordered a pair of trekking poles that night. The pair I keep in the back of my Subaru Outback now are the Cascade Mountain Tech Lightweight Aircraft-Grade Aluminum Trekking Poles with Extended Down Grip Plus Tip Kit. Two seasons later, they are the reason I still hike alone on weekdays without worrying about the walk back to the car.
Here is what nobody tells you about trekking poles: they only help if you use them with intent. Strapped to your wrists and swinging at your sides, they add weight and noise and do nothing for your knees. Planted wrong, they can actually pull you off balance on a steep descent. The problem is rarely the pole. It is the technique. So this guide is not a cheer for gear. It is the exact routine I use on the steep trails around Bellingham, the one that turned poles from an accessory into the reason my left knee still lets me hike.
The poles I keep in the car for every hike
The Cascade Mountain Tech poles are light, easy to adjust on the trail, and come with a tip kit for rock, dirt, and snow. They are the ones I reach for first.
Amazon Check Today's Price on Amazon →The Two Ideas That Matter Most
Before the steps, two ideas that changed everything for me. First, poles are a second set of legs. Your arms can push and brake in ways your knees cannot, but only if the pole is planted on the ground when you need it. Second, the pole should meet the ground at the right time in your stride. Think of it as a rhythm, left foot with right pole, right foot with left pole, the same cross-body pattern you use when you walk. Once that rhythm clicks, everything else is adjustment.
I will also say this plainly: the poles are not magic. They are a tool, and the tool only works when the technique is right. That is why the steps below are mostly about body position and timing, not about the gear. I have seen hikers with expensive poles struggle on a grade I walked easily, and I have seen hikers with rental poles glide past them. The difference was never the price tag.
Step 1: Set the Length Before You Move
Stand on flat ground with the pole tip on the dirt in front of you. Hold the grip so your elbow makes a clean 90-degree angle. That is your neutral length. For the Cascade Mountain Tech poles, loosen the locking mechanism, slide the lower section until the tip rests just ahead of your toes, and tighten it again. Do this at the trailhead, not on the hill, because every inch of length changes how much work your arms can do. It takes about twenty seconds per pole, and it is the difference between poles that feel like an extension of your arms and poles that feel like awkward sticks.
Here is where the science teacher in me comes out. The 90-degree angle puts your forearm parallel to the ground, which means the push from your triceps goes straight down the shaft into the trail. If the pole is too long, your elbow bends past 90 and you lose leverage. Too short, and you hunch, which makes your lower back work harder. That is also why I check both poles, because the ground is rarely perfectly level and my habit is to set them the same anyway. On a two-hour climb, small errors add up fast.
One more thing: plan to change the length as the trail changes. I shorten both poles a few inches for steep climbs and lengthen them for descents. That means loosening and tightening the locks on the trail, which is exactly why I wanted poles with easy locks in the first place. The Cascade Mountain Tech poles adjust in seconds, and the extended down grip gives me a place to grab lower on the shaft when a climb gets extra steep. It is the feature I did not expect to care about, and now I use it on every steep pitch.
Step 2: Plant Ahead, Push Behind
The most common mistake I see on the trail is planting the pole straight down beside the foot, like a walking stick. That does almost nothing. The pole needs to be planted ahead of your body, with the tip meeting the ground just before your opposite foot lands. On a climb, that means the pole is doing the pulling and pushing while your leg is still moving up. Watch for it on any busy trail and you will see it constantly: people swinging poles like they are walking on flat ground, the tips never quite doing anything.
The rhythm is simple once you feel it. Right foot forward, left pole plants. Left foot forward, right pole plants. Your arms move the way they do when you walk, just with a pole in each hand. On steep sections, I plant the pole a little farther ahead and lean into it slightly, letting my arms take weight that would otherwise land on my left knee. It looks like a lot to think about, but after ten minutes it becomes automatic, the way you stop thinking about which foot goes first on stairs.
If you catch yourself planting both poles at once, you are probably using them like crutches. That is fine for a rest step on a very steep pitch, and I will show you that in Step 3. But for steady climbing, alternate. The cross-body rhythm keeps your hips square and your pace even, and it is easier on your shoulders than the herky-jerky double plant. Save the double plant for the moments that actually need it, like a high step onto a rock, and your shoulders will thank you at the end of the day.
Step 3: Climbing Is a Push, Not a Pull
On a steep climb, the pole tip goes in slightly behind your center of mass, and you push. Think of it like poling a canoe: the shaft is angled back, your arm straightens, and your body moves up past the planted tip. The power comes from your triceps and your core, not from hauling on the grip with your biceps. The mistake beginners make is pulling themselves up with their arms, which exhausts the biceps and leaves the poles behind the body where they cannot help.
For the steepest pitches, switch to the two-pole rest step. Plant both poles ahead of you, lean forward so your weight is on your arms, and step up with your stronger leg. Then bring the other leg up, shift your weight back to your legs, and repeat. It is slower than alternating, and it should be. The point of the rest step is to give your legs a genuine rest. This is the technique I used on a long, exposed climb in the North Cascades last summer, and it turned a section I used to dread into one I actually enjoyed.
Keep your steps short and your breath even. Poles encourage a longer stride if you let them, and a longer stride on a steep grade is how you end up with burning calves and a sore lower back. Short steps, steady push, repeat. When I catch myself taking big steps, I shorten my stride on purpose and let the poles set the pace. The climb gets easier, and so does the next day.
Step 4: Descending Is Where the Poles Earn Their Keep
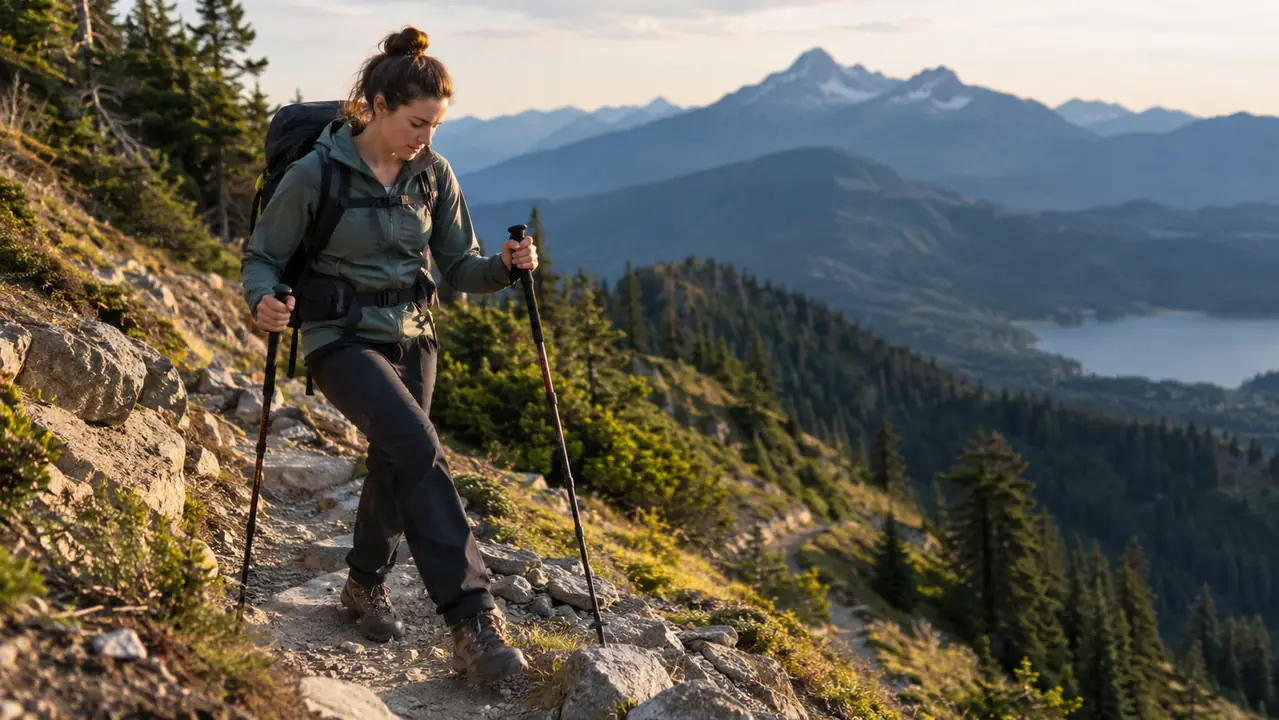
This is the step I care about most, because this is where my left knee used to complain. On a descent, every step sends force up through your leg, and your knee absorbs it. Lengthen the poles a few inches, plant each pole downhill and slightly ahead of the opposite foot, and let your arms take some of that force. I lengthen mine by about two inches before any long descent, and I do it while I am still on flat ground at the top, not in the middle of the steep part. Your knees feel the difference immediately.
The angle matters. The pole tip should be downhill of your foot, with the shaft angled back toward you. That way, as you step down, the pole is already there to catch you. If the pole is beside your foot, it does nothing. It feels awkward for the first few descents, planting a pole you cannot quite see, but your foot learns to trust it fast. I tell Jen this every time we hike the Chuckanut ridgeline: plant downhill, not beside.
Bend your knees and keep your weight centered over your feet. The poles are a brake, not a handrail. If you lean back and hang on them, you will tire your arms and still come down hard. Used right, they turn a knee-jarring descent into a controlled walk, and the next morning you will notice the difference in how your knees feel. The morning-after test is the one I trust most. If my knees are quiet the day after a steep hike, the technique worked.
Step 5: Match the Tip and Basket to the Ground
The Cascade Mountain Tech poles come with a tip kit, and I used to leave the extra pieces in the box. That was a mistake. The carbide tip is great for dirt and packed trail, but on slick rock it can skid. Swapping in the rubber tip gives you a grip on wet slabs and boardwalks, and it is quieter on pavement. On a recent hike on wet granite, the rubber tips were the difference between feeling steady and feeling like I was skating.
The baskets, the little discs near the tip, do two jobs. In soft ground, snow, and mud, they keep the pole from sinking too deep. In loose scree, they keep the tip from sliding sideways. The rule of thumb I use: if the ground is soft enough to leave a footprint, keep the baskets on. I leave mine on for spring hikes in the mountains and pop them off for dry summer trails, where they just catch on brush.
Changing tips takes seconds. The tip screws out, the replacement screws in, and the basket slides up or off depending on how the pole is built. I keep the spare tips in the glove box of my Subaru Outback so I can switch at the trailhead. It takes longer to describe than to do, and it means the poles are ready when the trail changes halfway through the day.
Common Mistakes I Still See on the Trail
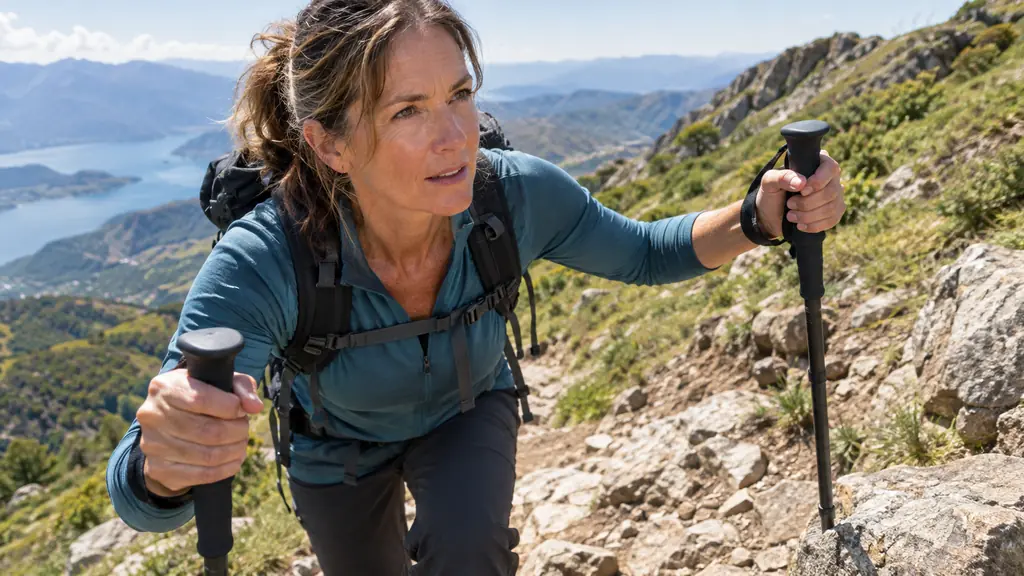
The first is poles that are the wrong length, because people set them once at the store and never adjust. The second is planting the pole beside the foot instead of ahead of it, which turns the pole into a walking stick with extra steps. The third is gripping the handle like it owes you money, which tires the forearms and sends the shock straight up your arms. If you fix those three, you have fixed most of what I see on the trail.
What Else Helps
Poles are not a substitute for strong legs, and I want to be honest about that. They take a meaningful share of the load, especially on descents, but I still do the knee-strengthening exercises my physical therapist gave me, and I still take rest days. I say this because I have seen people treat poles as a cure-all, and then blame the poles when a bad knee still hurts. The poles made the difference between hiking and not hiking. They did not make me invincible.
A few small things that made the poles work better. Use the wrist straps properly: put your hand up through the loop and then down over the strap, so the strap wraps around the base of your thumb. That way the pole hangs from your hand instead of being squeezed, and you can relax your grip. Wear gloves with padded palms on long days. And if the locks feel loose, stop and tighten them right away. A pole that collapses mid-step is worse than no pole at all.
If you are new to poles, do not learn on a hard day. Take them on an easy two-mile walk first, on flat ground, and practice the rhythm until it feels boring. By the time you reach a steep trail, the motion will be automatic, and that is when the poles actually start helping.
The first steep descent after I changed my technique, my left knee felt fine the next day. That had not happened in years.
None of this requires special fitness or youth. It just requires poles set to the right length and a little patience on the first few hikes. Start there, and the steep trails around Bellingham will feel different by the third outing.
Ready to give your knees an easier trail?
The Cascade Mountain Tech Lightweight Aircraft-Grade Aluminum Trekking Poles are the ones I keep in my car for every hike. They are light, adjustable, and honest about what they do. Check today's price on Amazon and see if they fit your next trail.
Amazon Check Today's Price on Amazon →