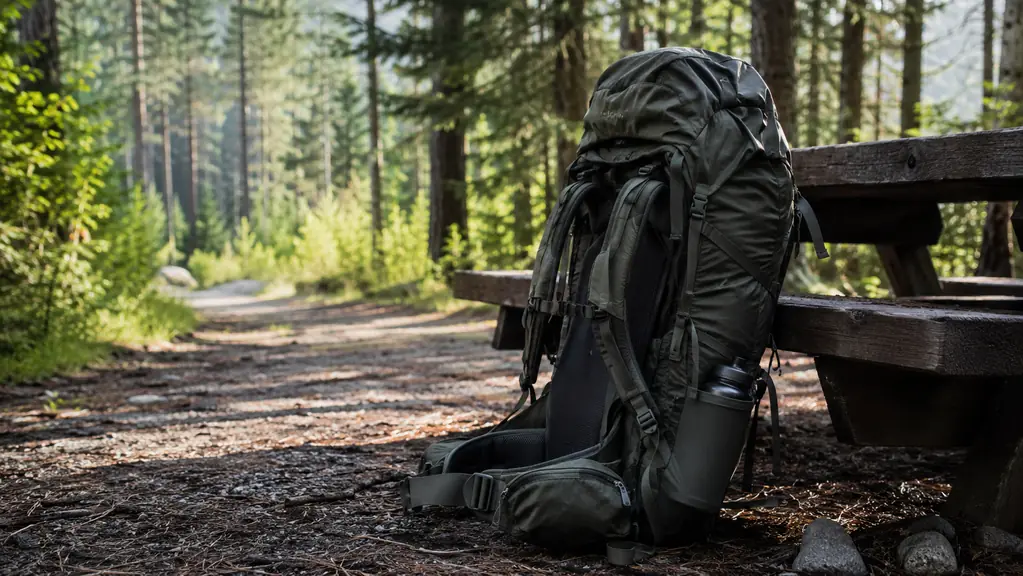
The first time my sister Jen and I went out for a weekend in the North Cascades, I packed like I was moving apartments. The pack weighed more than I did, everything I actually needed was at the bottom, and I spent the first mile stopping every few minutes to re-tighten the straps. By the time we reached camp, my shoulders ached and I had a vague sense that backpacking was supposed to be more fun than this. I have done enough of those trips since then, mostly on the Chuckanut trails close to home and a few longer ones when I travel, to know the problem was never the gear. It was the order. The way you load a pack decides how it rides, how much your shoulders ache by mile three, and whether you can get to your rain jacket before the sky opens. By a weekend trip I mean two nights, three days, and everything you need to be comfortable and safe on your own. This guide is the exact method I use with my TETON Sports Scout 55L: five steps, in order, with the reasoning for each one, so you can adapt it to whatever pack you already own.
Start with a pack that lets the load sit where it should
The TETON Sports Scout 55L has an internal frame that transfers weight to your hips and compression straps that keep the load from swaying as you walk. That makes every step in this guide easier to pull off. Check today's price on Amazon before you start packing.
Amazon Check Today's Price on Amazon →Why the order matters
A loaded pack is a lever. If the weight sits high, the lever arm is long and the pack pulls you backward with every step. If the weight sits low, it bounces on your hips and wears you out from the inside. The goal is to keep the heavy stuff close to your spine, roughly at the level of your shoulder blades. That is where your body is built to carry a load, and a pack frame only works well when you load it the way it was designed to be loaded.
The other reason order matters is simpler: access. A weekend trip is short, and stopping to unpack half your gear just to reach a snack turns a two-hour hike into a three-hour one. If the things you need during the day live on top and in pockets, and the things you need at camp live at the bottom, you never have to unpack on the trail. That is the whole system.
Step 1: Lay everything out and split it into three piles
Before a single item goes in the pack, I empty my gear onto the floor or the tailgate of my Subaru Outback and divide it into three piles. Pile one is the heavy stuff: the stove, the fuel, the cook pot, the first aid kit, the water filter, and the food bag. Pile two is the medium stuff: the tent, the sleeping bag, the sleeping pad, and the clothes I am not wearing. Pile three is the light stuff I will need during the day: the rain jacket, the map, the headlamp, sunscreen, snacks, and the water bottles. I do this even on trips where I am sure I know what I am carrying. The piles catch the things I almost left behind, like the stove fuel or the map.
This takes five minutes and it saves an hour of repacking later. The piles are not about neatness. They are about weight placement, which is the whole game. A weekend pack should carry most of its weight at your mid-back, close to your spine, not high and not low. The three piles are how I make sure that happens without thinking about it while I am loading.
One note on the fuel: if you carry a canister stove, the fuel goes in a side pocket or the top of the pack, never buried at the bottom. It is not a safety issue in normal use, it is a leak issue, and a leaking canister at the bottom of your pack ruins a trip faster than almost anything else. I keep mine in the right side pocket, upright, with the valve cap on. It is easy to reach, and it never touches my food.
Step 2: Pack the sleeping bag at the bottom, inside a dry sack
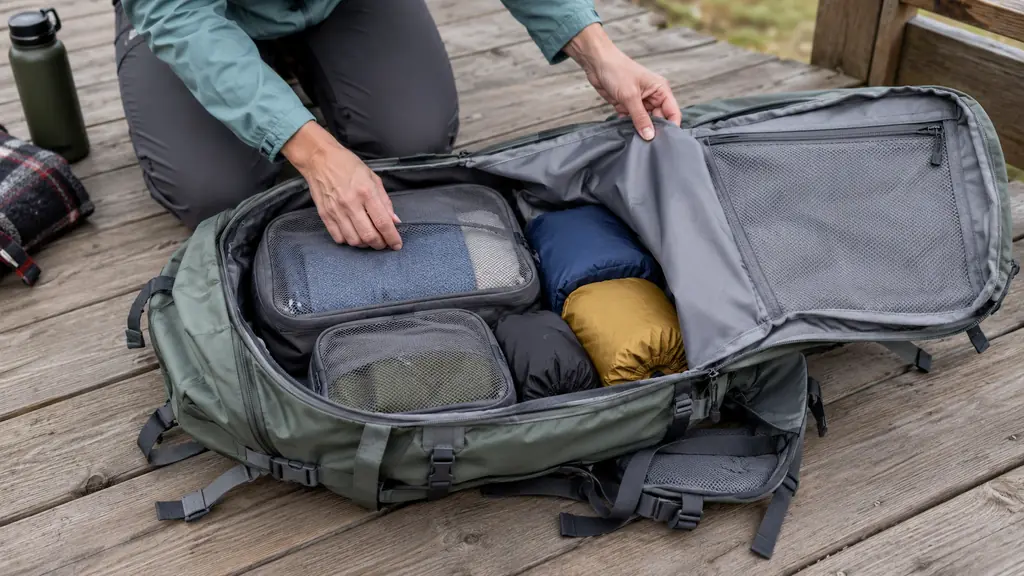
The bottom of the pack is for the thing you will not need until camp, and that is the sleeping bag. I put mine in a compression dry sack first. The dry sack part matters more than the compression part: a sleeping bag that gets wet is not a sleeping bag, it is a liability. Even a light drizzle finds its way through a pack over a full day of hiking, and a wet bag at the bottom of your pack is miserable to discover at ten at night. I also use a sack that compresses, because a compressed bag takes up about half the space of a loose one.
The TETON Sports Scout 55L has a sleeping bag compartment with a divider inside, which I use as a floor. The bag goes in first, the divider zips shut above it, and everything else stacks on top. That divider is one of the small details I did not expect to care about, and now I would not want a pack without it. It keeps the sleeping bag from migrating up into the main compartment and it gives the bottom of the pack a stable base instead of a lumpy one.
If you do not have a dry sack, a heavy-duty trash bag liner inside the whole pack works almost as well. Line the main compartment, pack everything inside the liner, and twist the top closed before you cinch the pack. It is a classic trick and it still works. I did it for years before I bought a proper dry sack, and the only real difference is convenience.
Step 3: Build the middle layer with the tent, the pad, and the heavy stuff
The middle layer is where the weight lives. The tent body and the cook kit go here, packed vertically against your back, not horizontally across the pack. Vertical means the weight stacks along your spine instead of pushing out behind you. The tent poles go on the outside edge, not in the middle, so they do not poke the items next to them. When the load sits close to your back, the pack does not pull you backward with every step, and your hips do the work they are supposed to do.
The sleeping pad is the exception to the vertical rule. I roll mine and strap it to the outside of the pack, either in the side compression straps or lashed to the bottom. That frees up a surprising amount of interior space and it gives the pack a little extra structure. If you would rather keep the pad inside, roll it into a tube and pack it around the inside curve of the pack, with the heavier items in the middle.
This is also where I think about my left knee, which has been cranky since a college volleyball injury. The heavier the middle layer sits, the more the hip belt carries instead of my shoulders. On the Scout, the hip belt pads sit right over my hip bones and the frame transfers the load down to them. When I pack the middle layer correctly, I can feel the difference in the first hundred yards. My shoulders stay relaxed and the weight rides on my hips, where it belongs.
Step 4: Put the light, daytime stuff on top and in the pockets
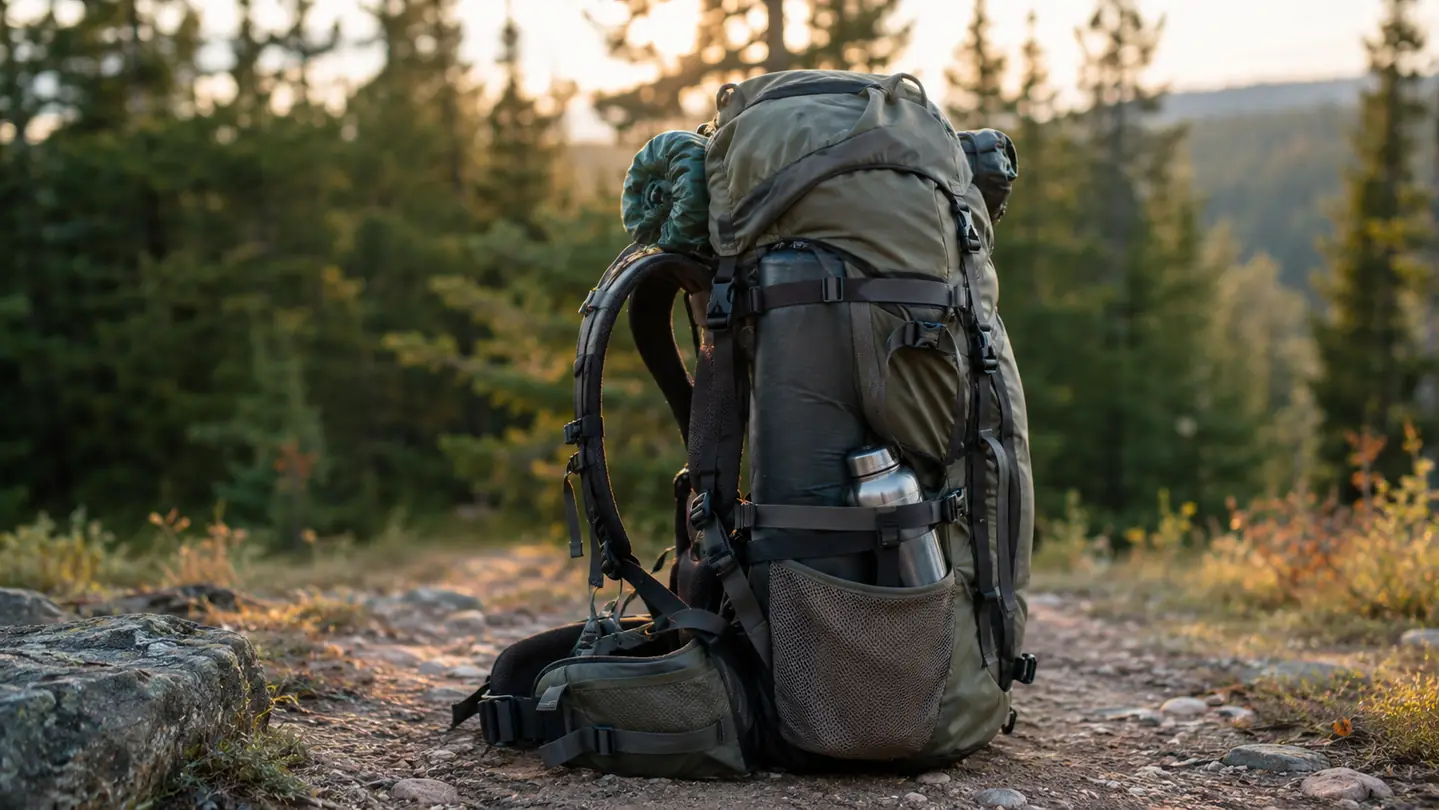
The top layer is for the things you will grab without taking the pack off: the rain jacket, the map, the headlamp, sunscreen, and a snack. I keep the rain jacket in the top pocket of the Scout, not buried in the main compartment. In the Pacific Northwest, the sky can change in ten minutes, and I have stopped too many times in light rain to dig for a jacket. Top pocket, every time. The snack goes in the hip belt pocket, actually, not the top pocket. That is the one thing I want without stopping at all.
The side pockets carry the water bottles and the fuel canister. The front pocket is for the flat stuff: the map, the permit, the emergency whistle, and a small repair kit. Keeping the flat things in the flat pocket is one of those small rules that makes a trip feel calm. You always know exactly where the map is, because it is always in the same place, even when you are tired and the light is going.
One habit I swear by: the headlamp goes in the top pocket with the batteries reversed or the lock mode on. A headlamp that turns on inside your pack and burns through its batteries by Saturday night is a classic weekend trip failure. Lock it, or turn the batteries around, so it cannot switch itself on while it bounces against your rain jacket.
Step 5: Strap down, tighten, and do the two-minute test walk
The last step is the one most people skip, and it is the one that makes the pack feel good. First, snug the compression straps on both sides of the Scout so the load does not sway when you walk. Then put the pack on and tighten the straps in this order: hip belt first, then the shoulder straps, then the load lifters at the top of the shoulder straps. The hip belt should sit on your hip bones, not your waist, and it should carry most of the weight. The shoulder straps should feel like they are guiding the pack, not hauling it. Most packs have a diagram sewn into the inside of the lid showing the tightening order, and the Scout does too. Follow it.
Then do the two-minute test walk. Walk around the parking lot or the living room with the pack fully loaded. Listen for things shifting. Feel for pressure points. If the pack pulls your shoulders back, tighten the load lifters. If it bounces, tighten the hip belt and the compression straps. If anything digs in, adjust it now, because it will only get worse at mile four.
The Scout has a sternum strap that slides up and down, and I set mine so it sits just below my collarbones. That strap does not carry weight, it stops the shoulder straps from sliding outward. It is a small adjustment that makes a long day noticeably more comfortable, and it takes about two seconds to set once you know where you like it.
What Else Helps
A few things that are not packing steps but change the trip. Trekking poles take a real load off my left knee on the descent, especially on the steeper Chuckanut trails, and they double as tent poles in a pinch. I use them every time now. A small stuff sack for the tent stakes and the repair kit keeps the sharp things from poking through the tent fabric. I also keep a small roll of duct tape wrapped around a pencil in the repair kit. It fixes blisters, gear, and tent poles. And I weigh the pack once, at home, on a luggage scale. If it is over thirty pounds for a weekend, something goes back. My target is twenty-five to twenty-eight pounds fully loaded, including food and water. That range keeps the trip fun instead of a grind.
The other thing that helps is practice. The first time I packed the Scout, it took me forty-five minutes and I still forgot the stove fuel. Now it takes about ten, because the order is always the same: sleeping bag at the bottom, heavy stuff in the middle, light stuff on top, straps snugged, test walk. Repetition does more than any checklist, and it is the reason I can pack in the dark by headlamp when I am trying to get an early start.
The hip belt should carry most of the weight. If your shoulders are sore after a weekend trip, the pack was not loaded or fitted right, and that is fixable.
Pack it right, and the Scout does the rest
The TETON Sports Scout 55L has the frame, the hip belt, and the compression system to make this method work. Check today's price on Amazon and see if it fits your next weekend trip.
Amazon Check Today's Price on Amazon →