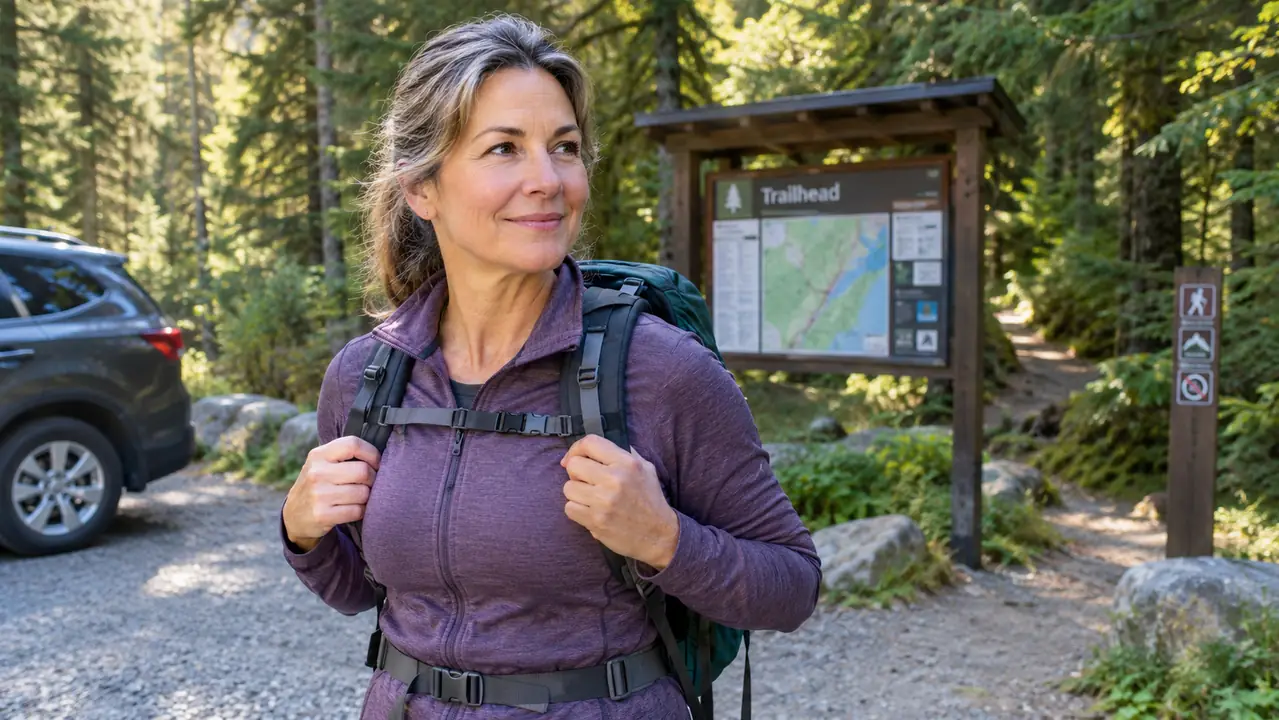
I used to pack my daypack the way I packed groceries: water on the bottom, jacket crammed in last, snacks wherever they fit. By mile three my shoulders ached, the hip belt had ridden up over my waist, and every time I bent to retie a boot the whole bag shifted. Then a friend who had hiked the Pacific Crest Trail watched me pack one morning and said, very quietly, 'You're doing that backwards.' She spent four minutes rearranging everything, and she talked while she did it. Heavy things close to the spine. Light things at the bottom. The things you need first on top. The difference was immediate, and it's the difference I want to show you here, using the SKYSPER 30L Daypack, the pack I've carried on the Chuckanut trails and in the North Cascades all season.
Packing a daypack is not about fitting everything in. It's about where each thing sits, how the weight rides on your hips instead of your shoulders, and what you can grab without taking the pack off. I have an old left-knee injury from college volleyball, so the stakes are practical for me: a badly packed bag changes the way I walk, and a changed gait is how I end up limping by the end of the day. This is the method I've settled on after enough miles that I stopped counting them. It works with any pack, but I'll show you how it works with the one I reach for every time I head out the door. I'll walk you through the five steps in the order I actually do them, and I'll tell you the mistakes I still see people make at the trailhead.
Pack it right and your knees will notice by mile four
This whole method assumes a pack that carries weight on your hips instead of your shoulders. The SKYSPER 30L Daypack is the one I've used for every step below. It's light, it's simple, and it's held up through a full season of day hikes on real trails. Check today's price on Amazon.
Amazon Check Today's Price on Amazon →Step 1: Lay out the Ten Essentials before anything else
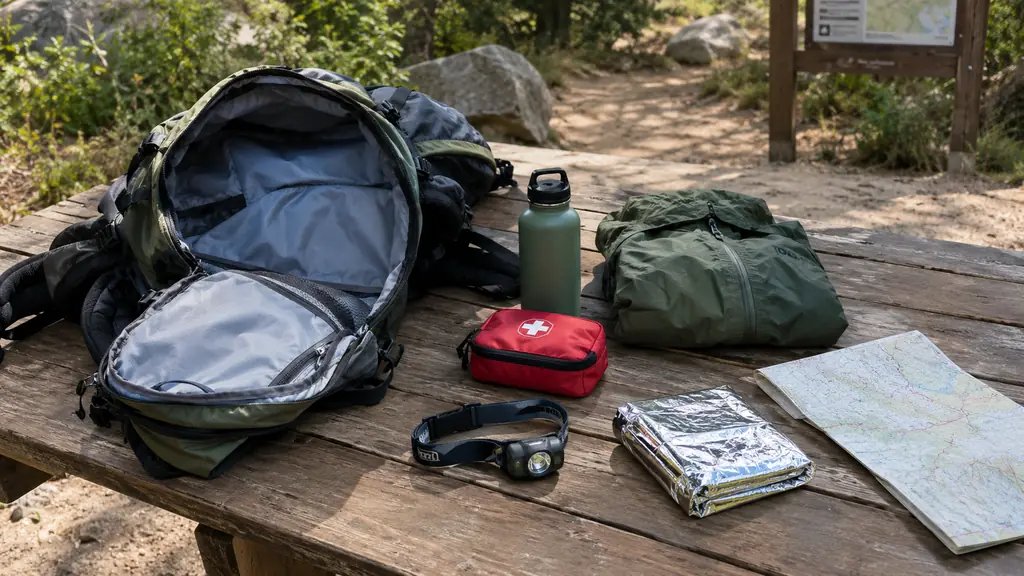
Before I put a single item in the pack, I empty it on the kitchen table and lay out what I call the non-negotiables: navigation, sun protection, insulation, illumination, first aid, fire, a repair kit, nutrition, hydration, and an emergency shelter. The list sounds like thru-hiker stuff, but it's the minimum for a three-mile loop on a sunny Tuesday. The sunny Tuesday is exactly the day you don't see another person on the trail. I do this the night before, not the morning of, because the morning of is when you forget things.
My version is small. A paper map and a compass, because the phone dies and the trail signs disappear in the fall. A headlamp with batteries I replaced in March, even though I've never once needed it on a day hike. A first aid kit the size of a sandwich, with blister stuff at the top because I always need the blister stuff at the top. A space blanket that weighs less than a granola bar and folds to the size of a deck of cards. A tiny repair kit with a piece of duct tape wrapped around an old gift card, which has fixed more gear than any tool I own.
The point of doing this first is that the essentials are not optional extras you squeeze in around the sandwich. They are the load. Everything else is comfort, and comfort is what you trim when the pack gets heavy. If you pack the essentials first, you never have to ask yourself at the trailhead whether you can skip the headlamp. You already know you can't.
Step 2: Water and food go in next, where you can reach them
Water goes in before clothes, because water is the heaviest thing you'll carry and it needs to sit against your back, low and centered. I carry one liter for every two to three hours on the trail, and a full extra liter in summer. That sounds like a lot until you've been on a ridgeline in August with the last half liter warm in your bottle and two miles of switchbacks still below you.
Food goes where I can reach it without taking the pack off. A pocket on the top or the outside is ideal. If your pack doesn't have one, put the day's snacks in the very top of the main compartment, above everything else. I pack a sandwich, two bars, and something sweet, and I put the thing I'll want at the turnaround point where I can find it by feel without stopping.
Here's the rule that took me years to learn: if you have to unpack the whole bag to get to your lunch, you will eat standing on a windy pass with your gear spread across the rocks. Pack for the way you actually eat on the trail, which is standing up, one-handed, in weather. Your future self, cold and hungry at the summit, will be very grateful for this paragraph.
Step 3: Clothes go in compressed, in the order you'll use them
Clothes are the easiest thing to pack wrong, because they're the bulkiest and the lightest. The trick is to compress them and to put them in the order you'll need them. The rain shell goes on top, or in an outside pocket, because rain does not wait for you to unpack. The warm layer goes below it, in a stuff sack or a big ziplock, squeezed flat until the air is gone.
I'm a former science teacher, so I'll give you the science: air is the enemy of a well-packed bag. Every pocket of air inside a puffy jacket is space you could use for something else, and every cubic inch of loose space lets the whole load shift when you bend. Compression sacks exist for this reason. If you don't own one, a gallon ziplock and your own knee work almost as well.
Don't pack the clothes you're wearing. This sounds obvious, but I've watched people stuff a fleece into their pack and then put the same fleece back on at the trailhead because the morning was colder than they thought. Layers you wear are not cargo. The cargo is the layer you'll add at the summit and the shell you'll put on when the wind turns. Everything else stays home.
Step 4: Put the weight where your hips can carry it
This is the step that changed everything for me. Heavy things go close to your back, at mid-height, roughly between your shoulder blades and your hip bones. Water, food, the first aid kit, all of it sits against your spine. Light things, like the compressed clothes, go at the bottom. The SKYSPER 30L has the room to do this properly, and the difference shows up in the first mile. The goal is a pack that feels like part of you, not a bag you're carrying.
Here's the physics: when the weight sits close to your spine, your hips carry it. Your hips are the strongest load-bearing joint you have, which is why a pack with a real hip belt feels almost weightless at the start of the day. When the weight sags away from your back, your shoulders and your lower back fight it with every step. That fight is what makes a twelve-pound pack feel like twenty-five by mile four.
For me this is also a knee thing. My left knee is old and grumpy from college volleyball, and the way I walk changes when my shoulders are doing the work. A pack that rides on my hips keeps my stride even, and an even stride is what gets me down the mountain without limping. If you have any joint that complains on the downhill, this step is the one to get right.
Step 5: Adjust the fit before you leave the trailhead
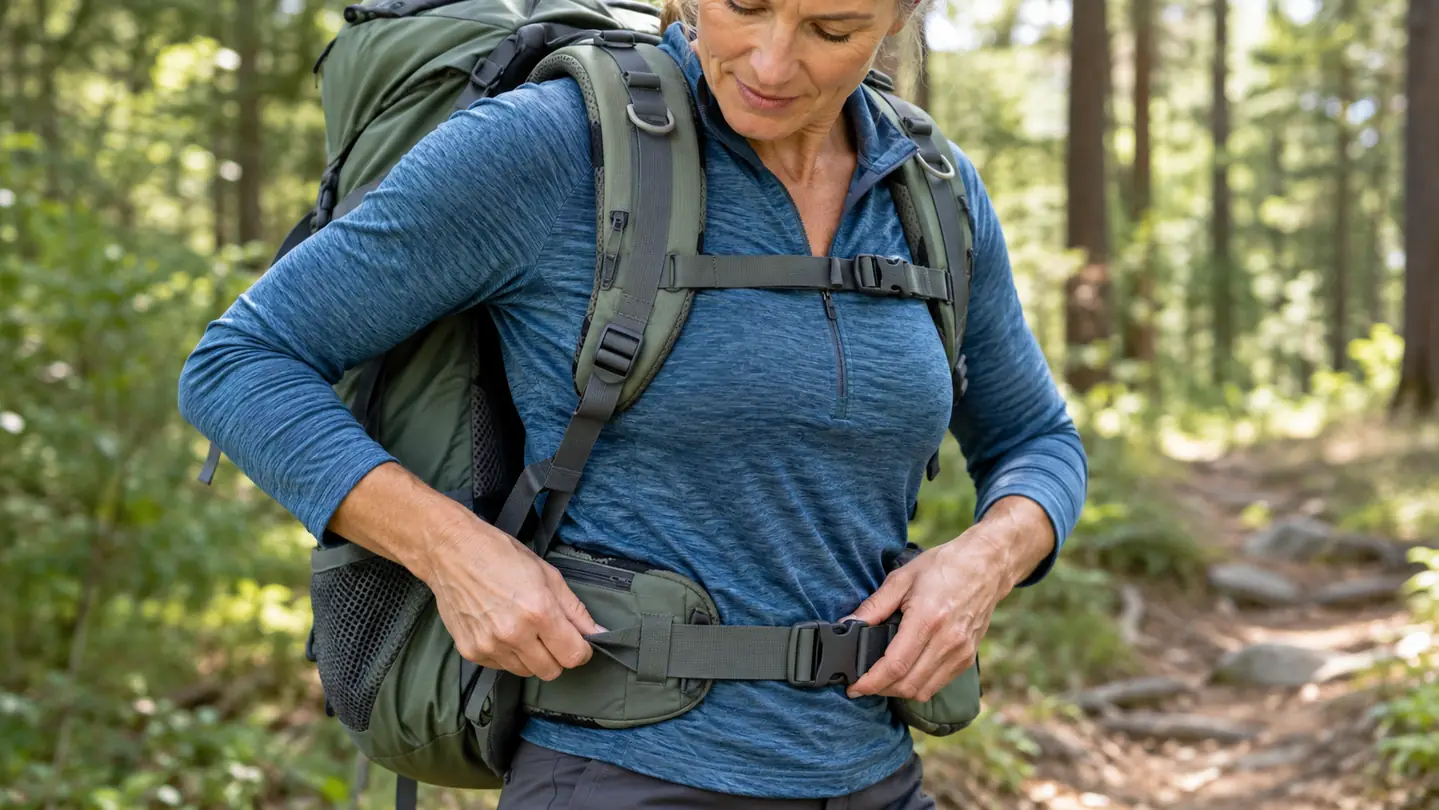
The best-packed bag in the world is useless if it's adjusted wrong. I do my fit check at the car, not on the trail, because the trail is where you discover the problem and the car is where you can fix it. It takes ninety seconds. Loosen every strap, put the pack on, and start with the hip belt. If you've ever spent a whole hike hitching a pack up by the shoulder straps, this is the paragraph that saves your neck.
The hip belt sits over your hip bones, not on your waist. You should feel it take the weight the moment you snug it. Then the shoulder straps, snug but not tight; they should hold the pack against your back without carrying it. The load lifters, the little straps at the top of the shoulders, angle back at about forty-five degrees. The sternum strap sits at chest height and keeps the shoulder straps from sliding out toward your arms. Every pack is a little different, so read the manual once, but this order works for most modern daypacks.
The test is simple. Jump once, gently. If the pack stays put and you don't feel the weight slam onto your shoulders, you're done. If it shifts, tighten the hip belt first, then the shoulder straps, and try again. I've watched people skip this and spend six miles fighting their own pack. Ninety seconds at the trailhead is cheaper than a sore neck at the end of the day.
What Else Helps
A few things I've added over the years that don't fit neatly into the steps. Trekking poles take a surprising amount of load off your knees on the downhill, which is why I carry them even on short hikes. A rain cover for the pack, or a dry bag inside it, because the Pacific Northwest has opinions about your gear. A small whistle on the sternum strap. And a text to my sister Jen with the trail name and my expected return time. She hikes with me on weekends, and she's the one I want to know where I am on a Tuesday. None of these cost much, and all of them have saved me at least once.
One more thing: weigh your pack before you leave. I keep a luggage scale by the door, and my full day pack comes in around twelve to fourteen pounds with water. If yours is over twenty, go back and ask which item you're actually going to use. The answer is almost never the thing you're most attached to. For me it was the paperback I carried for three seasons and never opened once.
And if you're still deciding on the pack itself, the SKYSPER 30L is worth a look. It's light enough to forget you're wearing it, which is the whole point of a daypack. A pack you notice is a pack that's working against you, no matter how well you packed it.
When the weight sits close to your spine, your hips carry it. When it sags away from your back, your shoulders and your lower back fight it with every step.
The pack that made this method stick
I've used the SKYSPER 30L Daypack for every step in this article, all season long. It's light enough to forget you're wearing it and big enough for a full day of the Ten Essentials, water, and a sandwich. Check today's price on Amazon and see if it fits the way you hike.
Amazon Check Today's Price on Amazon →