The most common question I get from friends who are new to hiking is not about trails or boots. It's about backpacks, and specifically what size to buy. Most people assume the answer is about height or how much you weigh. It isn't. The answer is your torso length, and once you know that number, choosing between a 30L, 40L, or 50L pack gets much simpler. I have used the Maelstrom 40L Hiking Backpack for most of my day hikes and overnight trips in the North Cascades, and it is the pack I reach for when I want one bag that does both jobs well.
In this guide I will walk you through the five steps I use to choose the right size hiking backpack. I will show you how to measure your torso, how to decide on capacity, how to check the hip belt and shoulder straps, how to load the pack so it fits the way it should, and how to test it before you commit. I will use the Maelstrom 40L as the example because it is the pack I know best, but the same steps apply to any backpack you are considering.
Start with a pack that fits your torso, not your height
The Maelstrom 40L Hiking Backpack is the pack I use for day hikes and weekend trips. Measure your torso first, then check today's price on Amazon to see if it is the right size for your next trail.
Amazon Check Today's Price on Amazon →Step 1: Measure your torso length, not your height
Backpack sizes are based on torso length, which is the distance from the bony bump at the base of your neck down to the top of your hip bones. Height alone tells you very little. I am 5'7", and my sister Jen is 5'9", yet we wear the same size pack because our torsos are nearly identical. If you bought a pack based on height, you would probably end up with one that sits too low or too high, and no amount of strap adjusting will fix that.
To measure your torso, you need a flexible tape measure and a friend, or a wall and a little patience. Find the C7 vertebra, the bony bump at the base of your neck where your neck meets your shoulders. Place one hand on your hip bones and tilt forward at the waist. The spot where your hip bones flare out is your iliac crest. Have your friend measure from the C7 vertebra straight down to the line between your hands. That number is your torso length. I measured mine on a Saturday morning in March with Jen holding the tape measure, and we did it twice because I kept standing up straight. The first reading was 18 inches, the second was 17.5, right on the line between medium and large. We averaged the two and went with the medium, and that choice has held up on every trip since.
Most packs come in small, medium, and large, and the ranges are usually printed on the product page or on a tag inside the pack. A torso length of 15 to 17 inches typically fits a small, 17 to 19 inches fits a medium, and 19 to 21 inches fits a large. The Maelstrom 40L is available in those sizes, so once you have your number, you can pick the right one without guessing.
Step 2: Match the capacity to the trip, not to your ambitions
Capacity is measured in liters, and it is the easiest number to get wrong. A 20L pack is fine for a short day hike with a jacket, lunch, and water. A 40L pack like the Maelstrom is the sweet spot for a full day hike with extra layers, a first aid kit, and a camera, and it is also big enough for a one-night or two-night trip if you pack carefully. A 50L or 60L pack is for multi-day trips where you carry a tent, a sleeping bag, and a stove.
The mistake I see most often is buying a huge pack for day hikes because it leaves room to grow. A big pack weighs more even when it is empty, and it encourages you to fill it. I have carried the Maelstrom 40L on everything from a two-hour walk along the Chuckanut trails to an overnight trip in the North Cascades, and I have never wished it were bigger. I have also never wished it were smaller, because the compression straps let me tighten it down when I am only carrying a light load. Last October, Jen and I did a two-night trip near Diablo Lake, and the 40L held my tent, sleeping bag, stove, and three days of food with room to spare. The same pack handled a four-mile day hike the next weekend with just a jacket, a sandwich, and two liters of water. I tightened the compression straps until it felt like a daypack, and it carried like one.
A good rule of thumb: if you are mostly a day hiker who wants the option of an occasional overnight, a 35L to 45L pack is the right range. If you only day hike and you pack light, a 20L to 30L pack is plenty. If you are planning multi-day trips with a tent and a stove, look at 50L and up. Match the pack to the trips you actually take, not the trips you imagine taking.
Step 3: Check the hip belt and shoulder straps before you buy
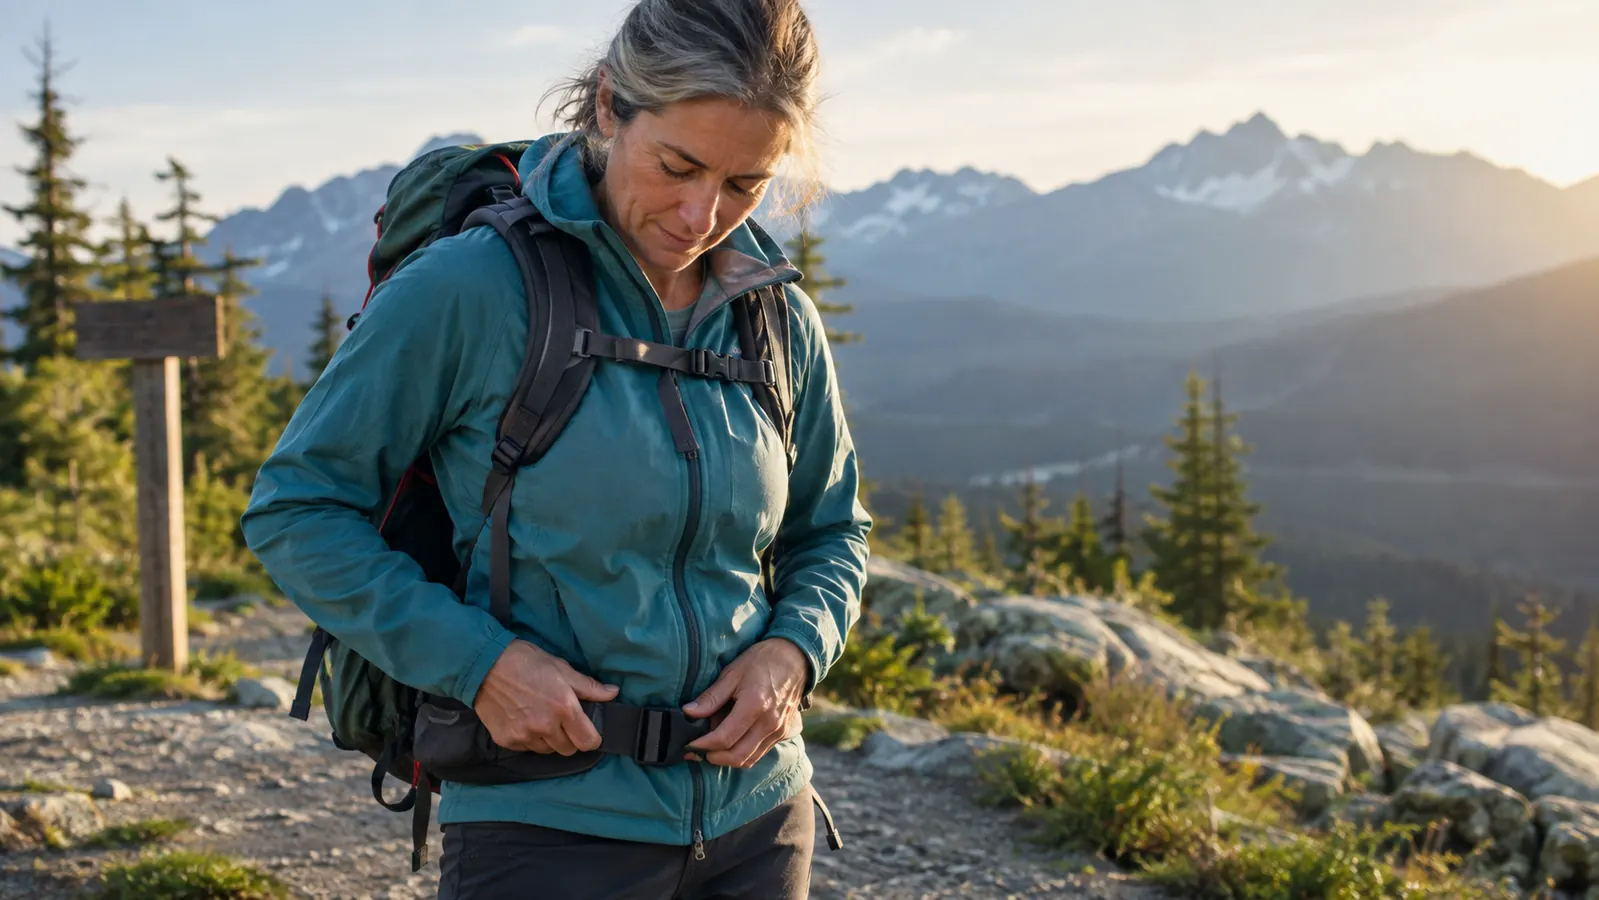
The hip belt is the most important part of a hiking backpack, because it transfers the weight of the load from your shoulders to your hips. I have an old left-knee injury from college volleyball, so load transfer matters to me more than it might to someone else. I tore the cartilage in my left knee during a volleyball match in college, and it still aches on long downhills when a pack lets the weight drift onto my shoulders. With a weak hip belt, I feel that strain by mile three. With the Maelstrom, the belt stays right where it should and the load stays on my hips, and I have finished nine-mile days without thinking about my knee. When a pack fits correctly, the hip belt sits on the top of your hip bones, not on your waist, and it should feel snug without digging in. The Maelstrom 40L has a padded, adjustable hip belt that I can tighten with one hand while I am walking.
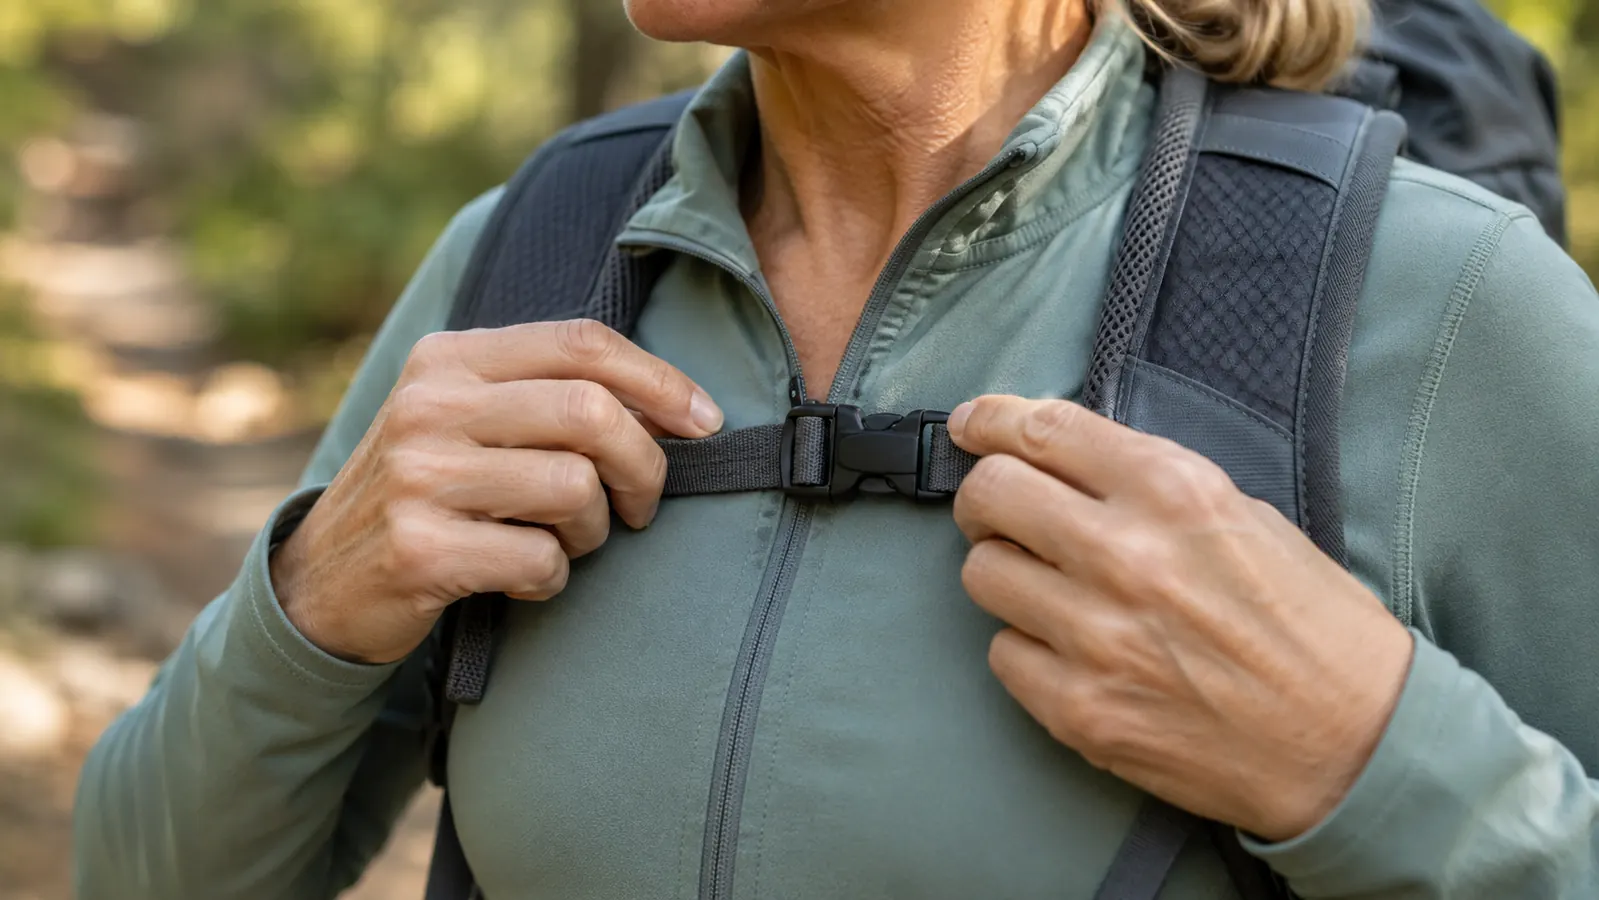
The shoulder straps should follow the curve of your shoulders without gaping or pinching. There should be no more than a finger's width of space between the strap and your shoulder at the top. The sternum strap, the little clip that connects the two shoulder straps across your chest, should sit at armpit level and should not press on your chest. I adjust mine every time I put the pack on, because it makes a noticeable difference in how the weight feels.
If you are shopping online, read the size chart carefully and look for the torso length range for each size. If you are shopping in a store, load the pack with something heavy before you try it on. An empty pack feels fine on your back. A loaded pack reveals every fitting problem. The Maelstrom 40L is the pack I recommend to friends because the hip belt and shoulder straps are comfortable even when I am carrying a full load up a steep switchback.
Step 4: Load the pack the way you will actually carry it
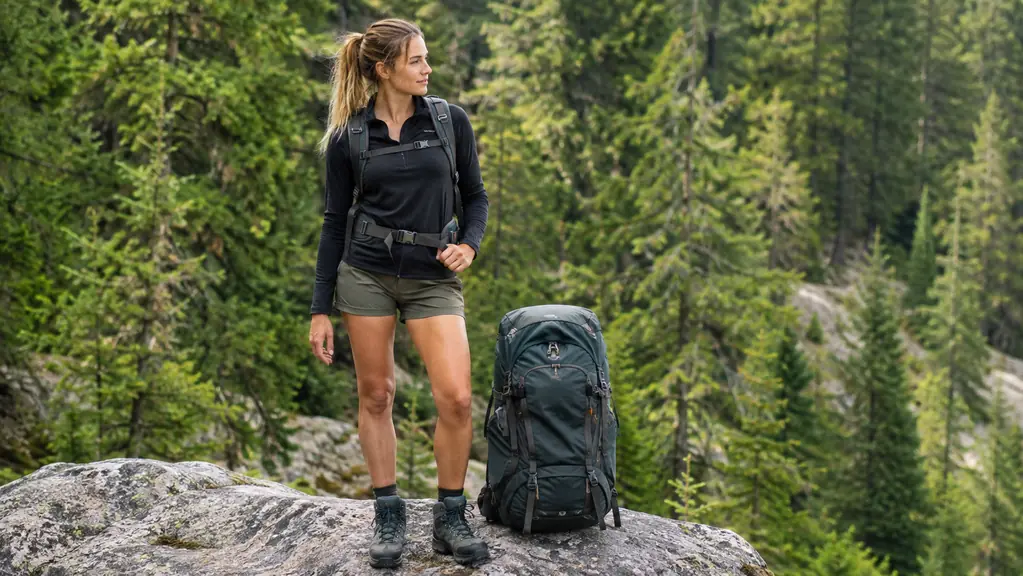
A pack that fits when it is empty may feel completely different when it is full, so the next step is to load it properly and test it. Heavy items belong close to your back and in the middle of the pack, around the level of your shoulder blades. Light items like a puffy jacket or a sleeping bag can go at the bottom. The Maelstrom 40L has a main compartment, a separate bottom compartment, and several pockets, which makes it easy to keep the weight where it should be.
When you put the pack on, loosen all the straps first. Then tighten the hip belt, then the shoulder straps, then the sternum strap. That order matters. If you tighten the shoulder straps first, the weight will pull on your shoulders and you will feel every mile. If you tighten the hip belt first, most of the load will rest on your hips, which is exactly what you want. I learned this the hard way on a 14-mile day on the Maple Pass Loop in 2019. I cinched the shoulder straps first because it felt natural, and by the ridge my neck and shoulders were burning. I stopped, loosened everything, tightened the hip belt first, and the last six miles felt like a different pack. Now I can feel the difference within the first five minutes.
Once the pack is loaded and adjusted, walk around your house or your yard for ten minutes. Go up and down stairs if you have them. Bend over to pick something up. The pack should not shift side to side, and your shoulders should not feel loaded. If the pack feels like it is pulling backward, the load is too high or too far from your back. If it feels like it is sitting on your hips, you have it right.
Step 5: Test it on a real trail before you commit to a size
The final step is the one most people skip, and it is the one that saves the most money. Take the loaded pack on a short, hilly trail before you decide it is the right size. A two-mile loop with a few climbs will tell you more than any spec sheet. I took the Maelstrom 40L on a three-mile loop along the Chuckanut trails the first week I had it, and I knew within the first mile that the size was right for me.
Pay attention to three things on that test hike. First, does the hip belt stay in place over your hip bones, or does it slide down? Second, do your shoulders feel free, or are you hunching forward to balance the weight? Third, does the pack bounce when you walk? A pack that bounces is a pack that does not fit, no matter how good it looks. The Maelstrom 40L has a frame and a suspension system that keep the load stable, so it stays put even when I am moving quickly.
If you are between sizes, choose the smaller one if you are mostly a day hiker, and the larger one if you are planning overnight trips. You can always tighten a pack down, but you cannot make it bigger. And remember that the right size is the one that lets you forget you are wearing it, so you can pay attention to the trail instead of your shoulders.
What Else Helps
A correctly sized pack makes the biggest difference, but a few small habits help too. Trekking poles take pressure off your knees on descents, which I appreciate given my old knee injury. A rain cover keeps your gear dry in the Pacific Northwest, and the Maelstrom 40L comes with one that stores in a pocket at the bottom of the pack. I also keep a small dry bag for my phone and keys, because no pack is completely waterproof on its own.
Finally, take the time to adjust the pack every time you put it on, not just the first time. Your layers change with the weather, your load changes with the trip, and your body changes through the day. Thirty seconds of adjusting at the trailhead is worth more than an hour of discomfort on the trail.
A pack that bounces is a pack that does not fit, no matter how good it looks.
Find the Maelstrom 40L that fits your torso
Measure your torso, match it to the size chart, and check today's price on Amazon. The Maelstrom 40L Hiking Backpack is the pack I use for day hikes and weekend trips in the North Cascades.
Amazon Check Today's Price on Amazon →